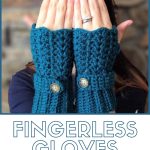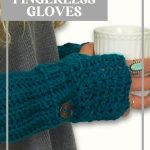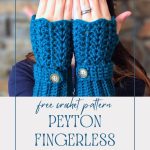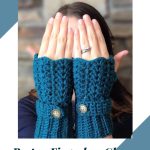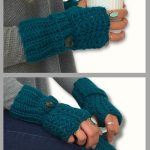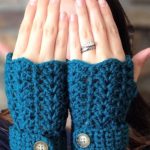
Fingerless Gloves: Free Crochet Pattern – Stylish, Simple, and Perfect for Gifting!
Looking for a quick, stylish project to keep your hands warm without compromising dexterity? This free fingerless gloves crochet pattern is the perfect solution! Whether you’re working on a gift or treating yourself, these gloves are beginner-friendly, quick to whip up, and oh-so-cozy. Keep reading to discover how you can make your own pair and enjoy a touch of handmade luxury.

No time to Make it Today? Save to Pinterest!
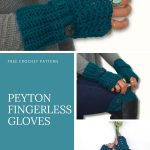
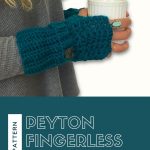
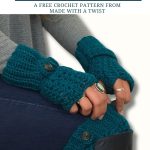
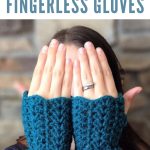
Click your favorite image, below, and save to your Pinterest board or share with friends.


Peyton Fingerless Gloves Crochet Pattern Instructions
When the chilly weather hits, there’s nothing better than snuggling up with your crochet hook and whipping up cozy accessories. Fingerless gloves have become a favorite among crocheters and wearers alike because of their practicality and versatility. This free crochet pattern will guide you step-by-step to create a pair of gloves that are not only functional but also fashionable.
In this blog post, I’ll share the inspiration behind this design, helpful tips for crafting your gloves, and ways to customize them to match your style or gifting needs. Let’s dive in and crochet some warmth!

Why Fingerless Gloves
Fingerless gloves are one of the most practical crochet projects you can make. They keep your hands warm while allowing you to use your fingers freely—perfect for typing, texting, or crafting. Plus, they’re a quick make, ideal for last-minute gifts or adding to your market inventory.
This free fingerless gloves pattern is designed with simplicity in mind, making it a fantastic choice for beginners. The sleek, ribbed texture adds a touch of sophistication, while the customizable sizing ensures they’ll fit perfectly. Whether you prefer a snug fit or a more relaxed style, this pattern has you covered.
Why you’ll love these fingerless gloves

Skill Level
Easy/Intermediate (includes increases)
Materials
- 170 yards of Aran/Worsted (4) weight yarn,
- (US size G/6) 4.25 mm Crochet hook
- 2 Buttons size 3/4”
- Tapestry needle
- Sewing scissors

Size Included Here
One size fits most teens/women
Stitch Abbreviations
beg – Beginning
CH – Chain
DC – Double Crochet
RND – Round(s)
SC – Single Crochet
SLST – Slip Stitch
sp – Space
st(s) – Stitch(es)
Gauge
9 SC X 6 rows of SC = 2” square
Pattern Notes
- Skill Level: Easy/Intermediate
- US Terminology
- Sts worked through both loops unless otherwise indicated.
- When a row beg with a CH1, it does not count as a st.


More Patterns to Keep Your Hands Warm
Special Stitches
To make beginning shell: *CH3 (counts as beginning DC), DC, CH1, 2DC* all into the same stitch. This makes the shell to begin each row of shells.
To make shell: *2DC, CH1, 2DC* all into the same stitch = 1 shell.
Upgrade to the Ad-free PDF
Want to support the work we’re doing here at Made with a Twist? Looking for a more user-friendly pattern experience? Grab the beautifully formatted, ad-free PDF for the Peyton Fingerless Gloves!

Peyton Fingerless Gloves Crochet Pattern Instructions
Ribbing
CH 16
ROW 1: (working in back loop only) SC in 2nd CH from hook, SC in each CH across. CH1, turn. (15 sts)
ROWS 2 – 22: (working in back loop only) SC in each SC across. CH1, turn.
(15 sts)
To complete ribbing: Fold ribbing in half so rows 1 and 22 meet up. Matching sts, SLST rows 1 and 22 together.
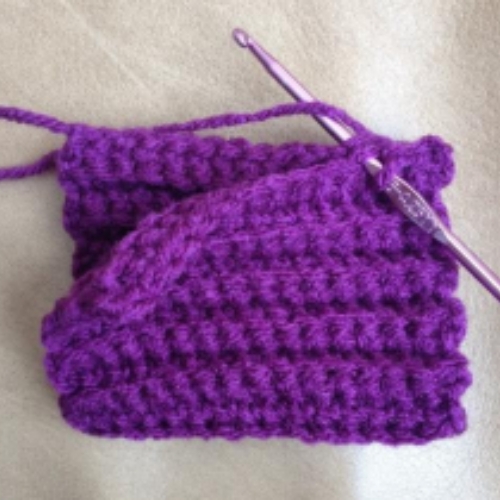
With yarn still attached, turn ribbing right-side out with seam to the inside.
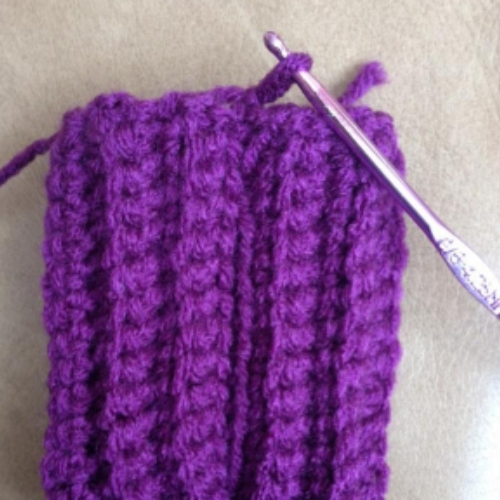
Glove
Note: You’ll be working in the round now. The end of each row equals a stitch.
RND 1: CH1, 2SC in first st…
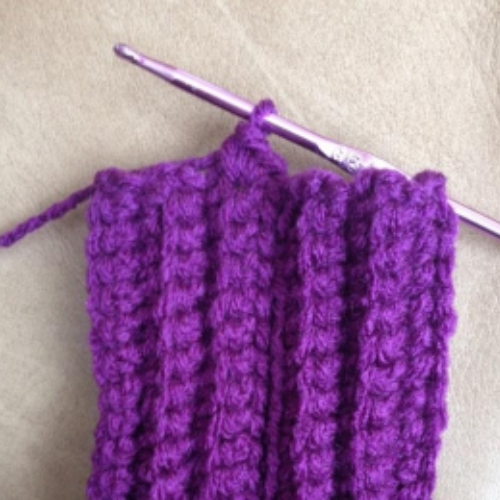
…SC in next 10 sts, 2SC in next st, SC in the next 10 sts. Join with SLST to top of first SC. (24 sts)
RND 2: CH3 (counts as first DC), DC, CH1, 2DC in same sp as CH3 (beg shell made), *SK next st, DC in next st, SK next st, (2DC, CH1, 2DC) in next st. Repeat from * 4 times, SK next st, DC in next st, SLST in top of beg CH3. (6 shells around)
RND 3: SLST in first 2 sts. Work a beg shell (CH3, DC, CH, 2DC) in the CH sp below, *DC in next DC, SHELL (2DC, CH, 2DC) in CH sp of shell below, Repeat from * 4 times. DC in next DC, SLST in top of the beg CH3. (6 shells)
RNDS 4 & 5: Repeat rnd 3
RND 6: (decrease for thumb) SLST in next 8 sts (ending in a CH sp of a shell), Work a beg shell (CH3, DC, CH, 2DC) *DC in next dc, SHELL in top of shell below, Repeat from * 3 times. CH1, SK remaining sts. SLST in top of beg CH3. (5 shells)
RND 7: SLST in next 2 sts, Work a beg shell (CH3, DC, CH, 2DC) in CH space below, *DC in next DC, SHELL (2DC, CH, 2DC) in CH sp of shell below. Repeat from * 3 times. DC in CH sp below. SLST in top of beg CH3. (5 shells)
RND 8: SLST in next 2 sts. Work a beg shell (CH3, DC, CH, 2DC) in the CH sp below, *DC in next DC, SHELL (2DC, CH, 2DC) in the CH sp of the shell below. Repeat from * 3 times. DC in DC below, SLST in top of the beg CH3. (5 shells)
Fasten off.
Band
Fold glove in half so the thumb sp is to the left. Join with SLST in top loop of first SC below the glove portion.
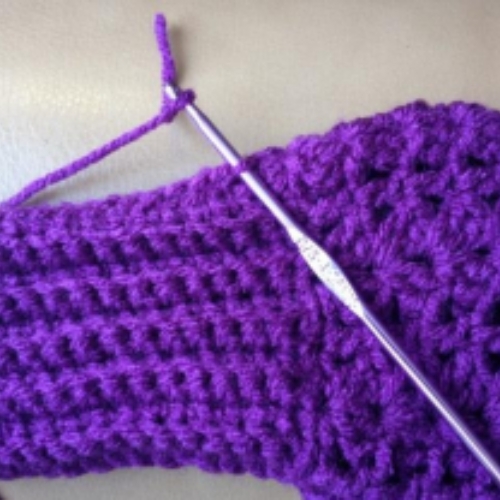
ROW 1: CH1, SC in to same st, SC in next 3 sts. CH1, turn. (4 sts)
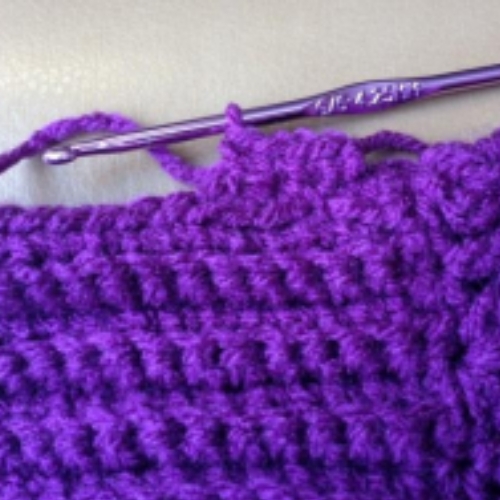
ROW 2: SC in next 4 sts. CH1, turn. (4 sts)
ROWS 3 – 16: Repeat row 2. (4 sts)
ROW 17: (decrease) SC2TOG, twice. (2 sts)
Fasten off. Tuck ends.
Attach buttons.
I found it easiest to put the gloves on in order to properly position the buttons.

How to Get the Ad-free PDF of this Design
The pattern instructions are available above, but you can get the beautifully formatted, printable, ad-free PDF for just a few dollars in our Ravelry and Etsy shops. (edit links on buttons)

Suggested Pricing: A Guide for Crochet Sellers
Permission is given (even encouraged) to sell your handmade products created from this original Made with a Twist pattern. I only ask that you give credit to Pam Grice from Made with a Twist as the designer, when possible or appropriate, and link back to www.madewithatwist.com and/or @madewithatwist (on social media) when selling and sharing images online.
Suggested Retail Price
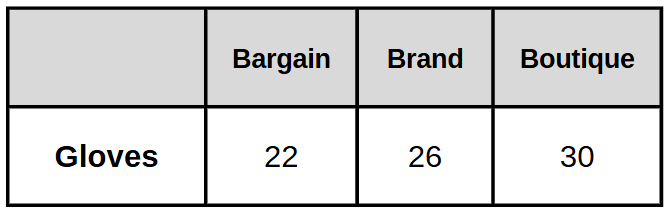
Want your own Crochet Product Pricing Calculator? Well, You’re in luck. You can access a calculator for Crochetpreneur for free RIGHT HERE.
You’ve Got Your Pattern, Now What?
Copyright Notice
This pattern and its images are copyright protected and the sole property of Made with a Twist by Crochetpreneur®, a division of Montgomery Grice Enterprises, Inc. Please do not redistribute, transfer, or sell the pattern, or alter it to claim as your own You may sell any products you create from this pattern. Please credit the designer by linking online listings to www.madewithatwist.com or tagging @madewithatwist.